
Repair rotted wood in the house with ease using this brilliant guide
Step-by-Step Guide:
Safety Precautions:
Put on safety gear to protect yourself from dust, debris, and potential hazards.
Assessment:
Examine the extent of the rot in the wood. Determine if you need to repair small sections or if a complete replacement is necessary.
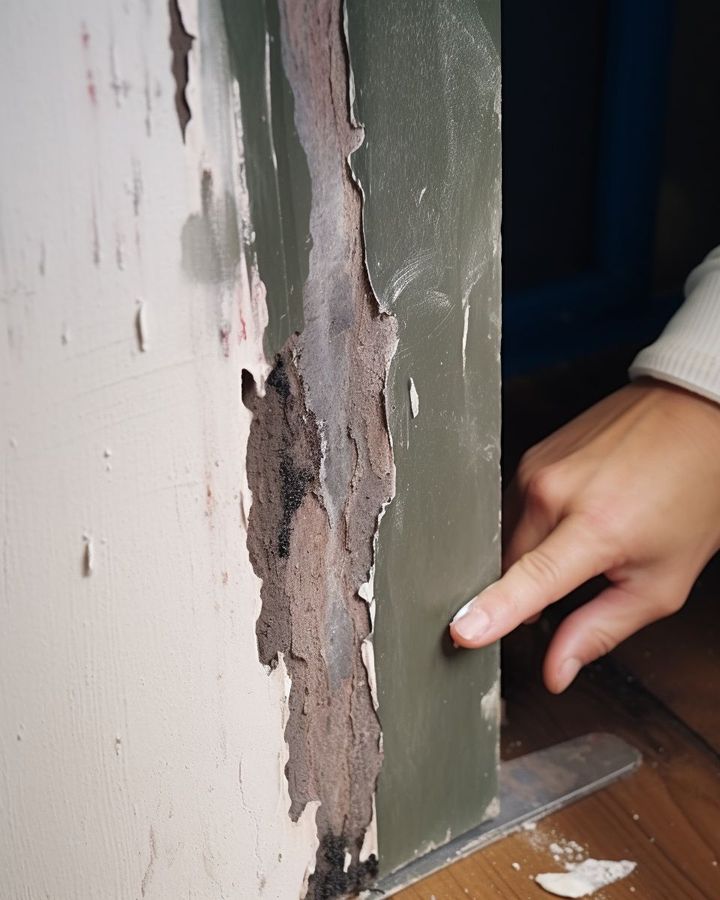
Remove Rotted Wood:
Use a screwdriver or drill to remove any loose or rotted wood from the affected area. Be gentle to avoid causing more damage.
Treat with Wood Hardener (Optional):
For partially rotted wood that you intend to keep, apply a wood hardener according to the product’s instructions. The hardener will stabilize the remaining wood fibers.
Fill the Rotted Areas:
Apply a wood filler or epoxy resin into the remaining voids left by the removed rotted wood. Follow the manufacturer’s instructions for the specific product you are using. Use a putty knife to smooth the surface.
Allow Drying and Curing:
Give the filler or epoxy enough time to dry and cure fully. Follow the recommended waiting period provided by the product’s manufacturer.
Shape and Smooth:
Use a chisel and sandpaper to shape the repaired areas to match the surrounding wood’s contours. Sand the surface until it’s smooth and even.
Prime (if needed):
If you plan to paint the repaired wood, apply a coat of primer to the treated areas and let it dry according to the product’s instructions.
Paint or Stain:
If the repaired wood is part of a painted surface, apply paint that matches the existing color. For stained surfaces, use a wood stain that matches the rest of the wood. Follow the manufacturer’s instructions for the paint or stain application.
continued on next page
